The bathroom! This project is easily night and day with only a handful of changes (one big and the rest small).
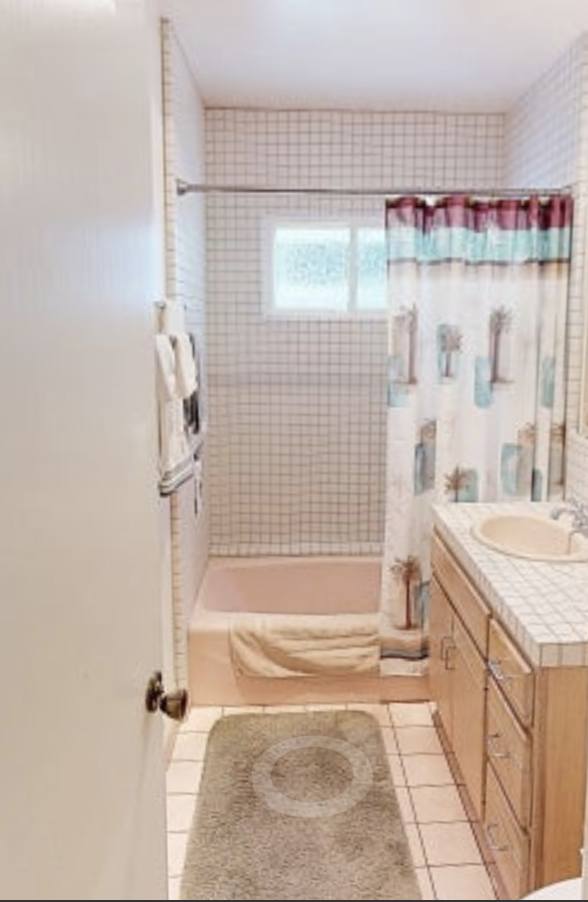
BEFORE

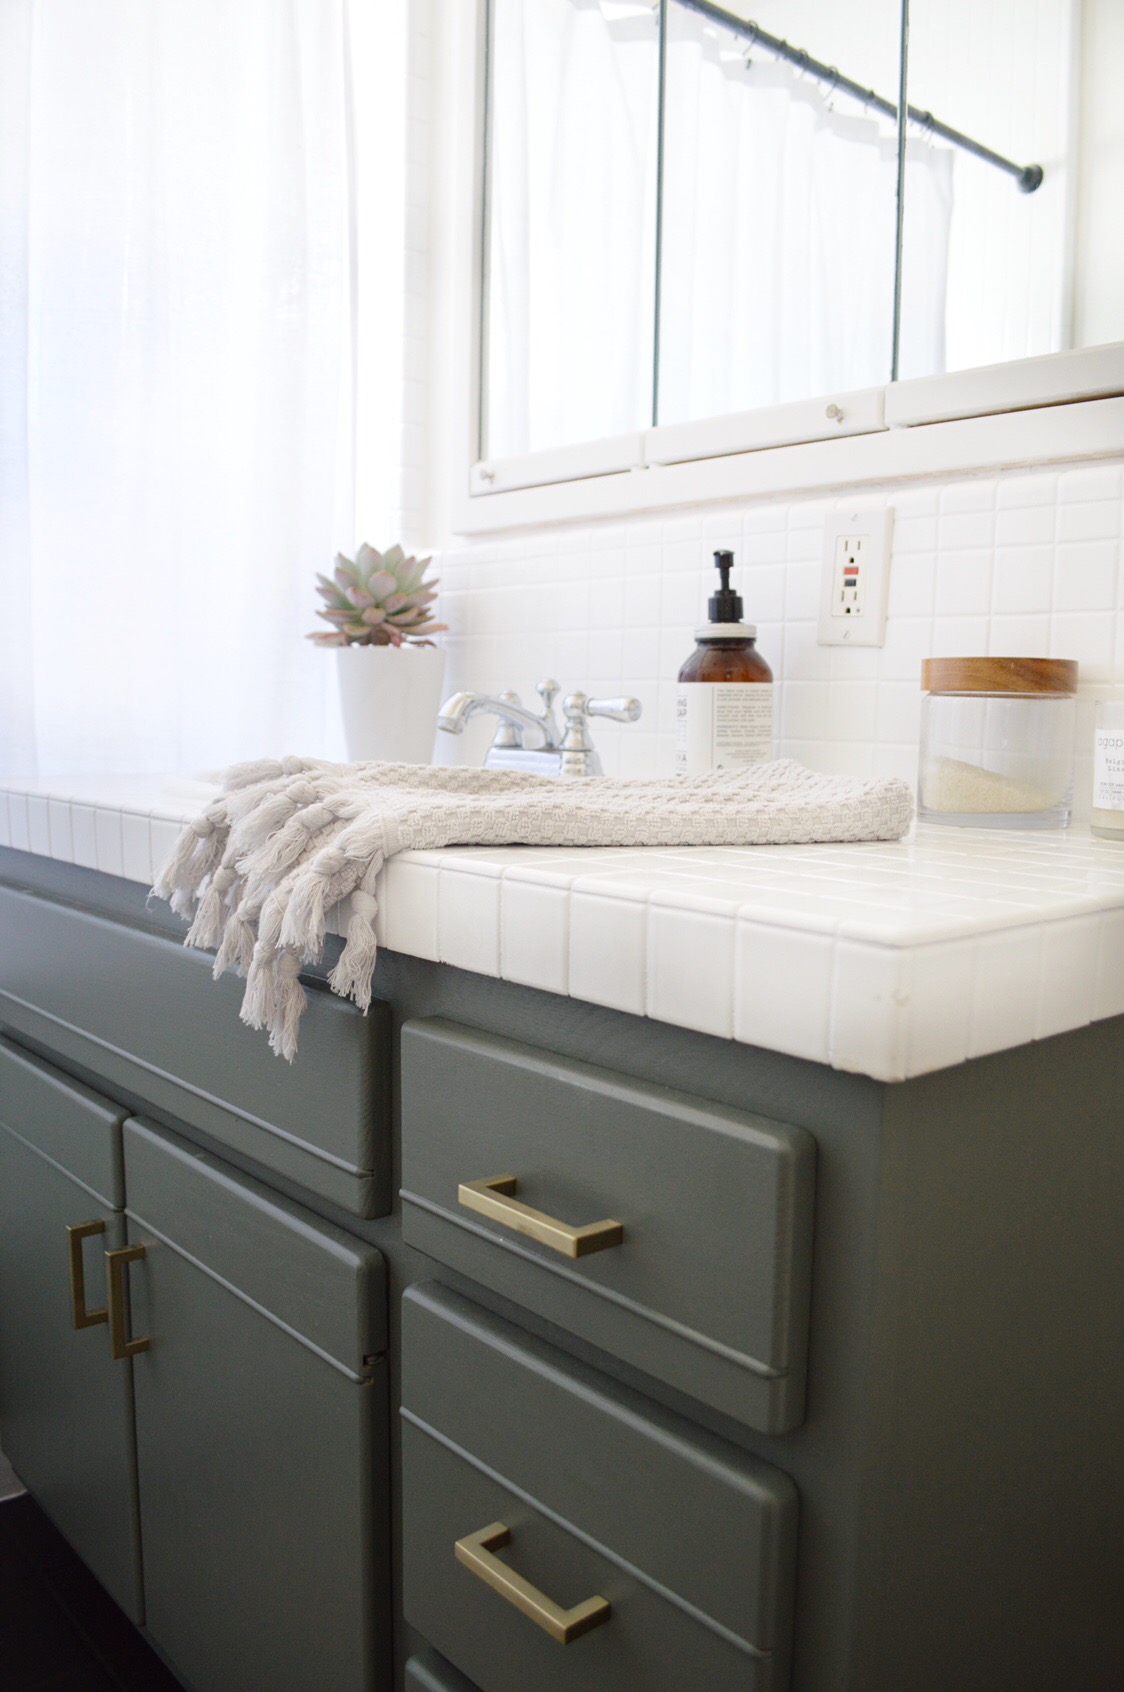
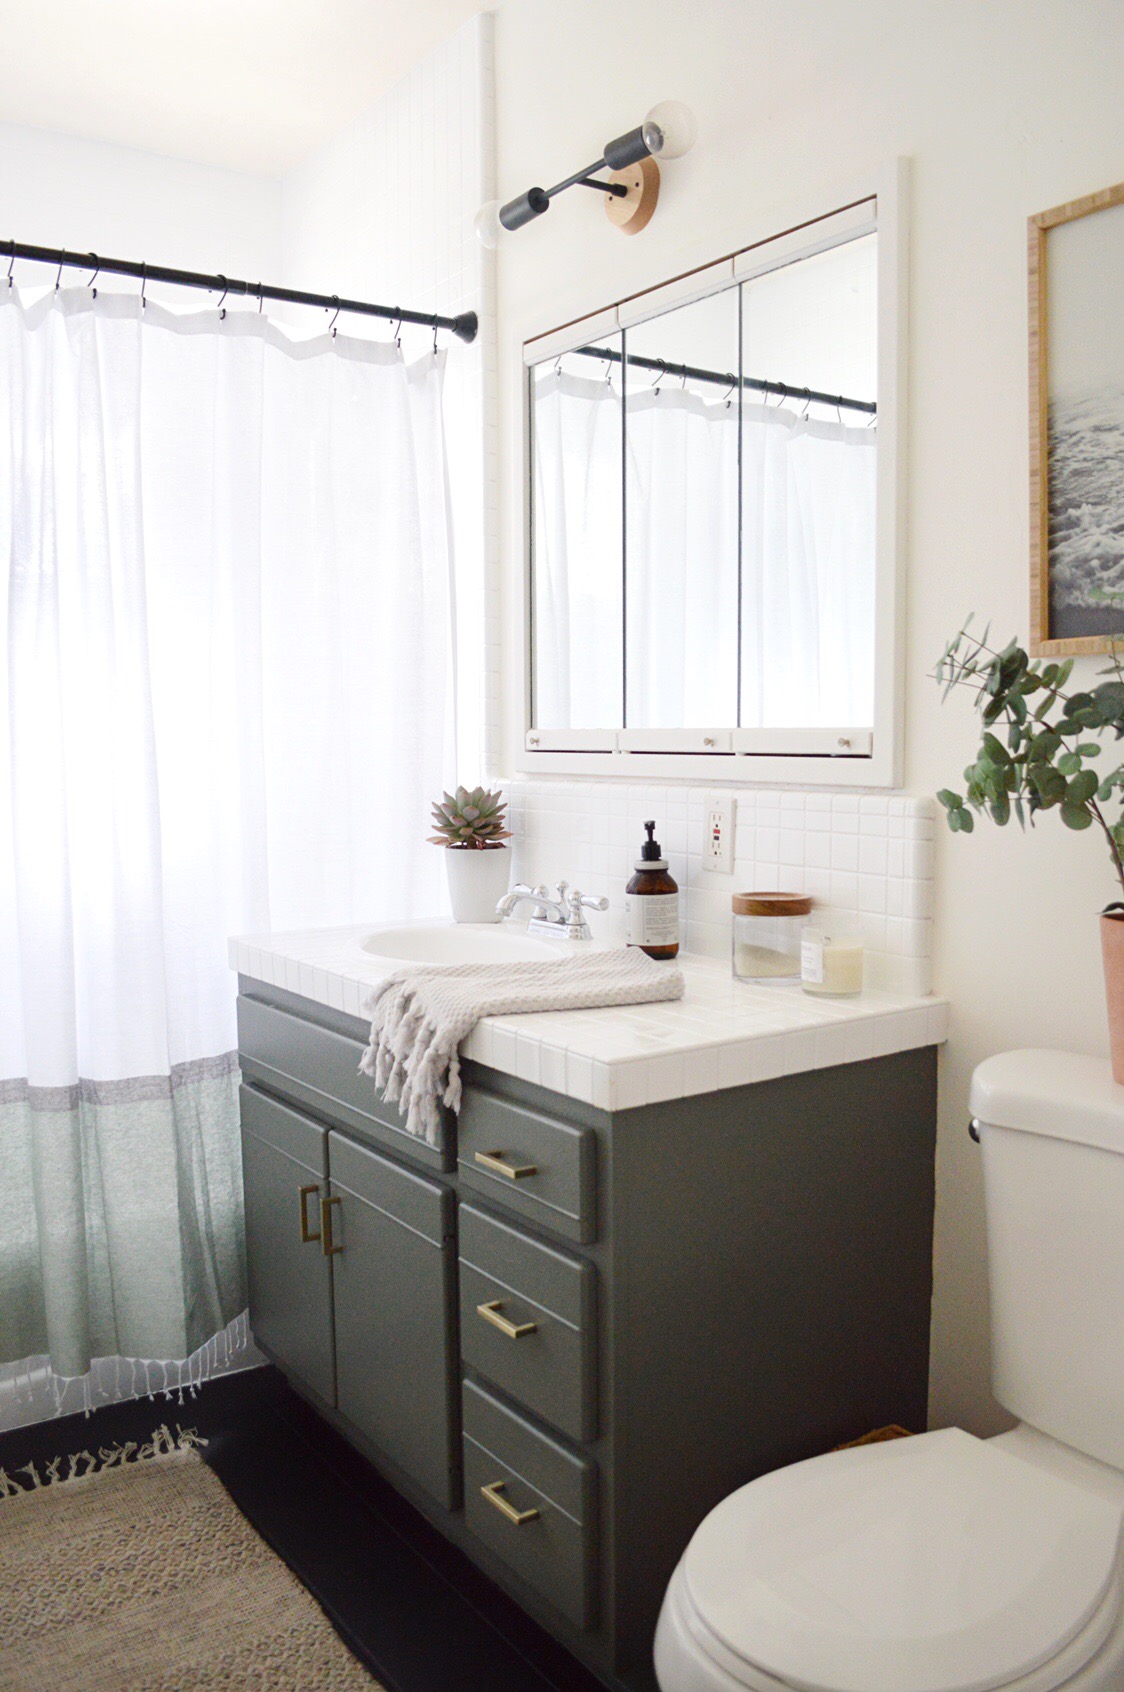
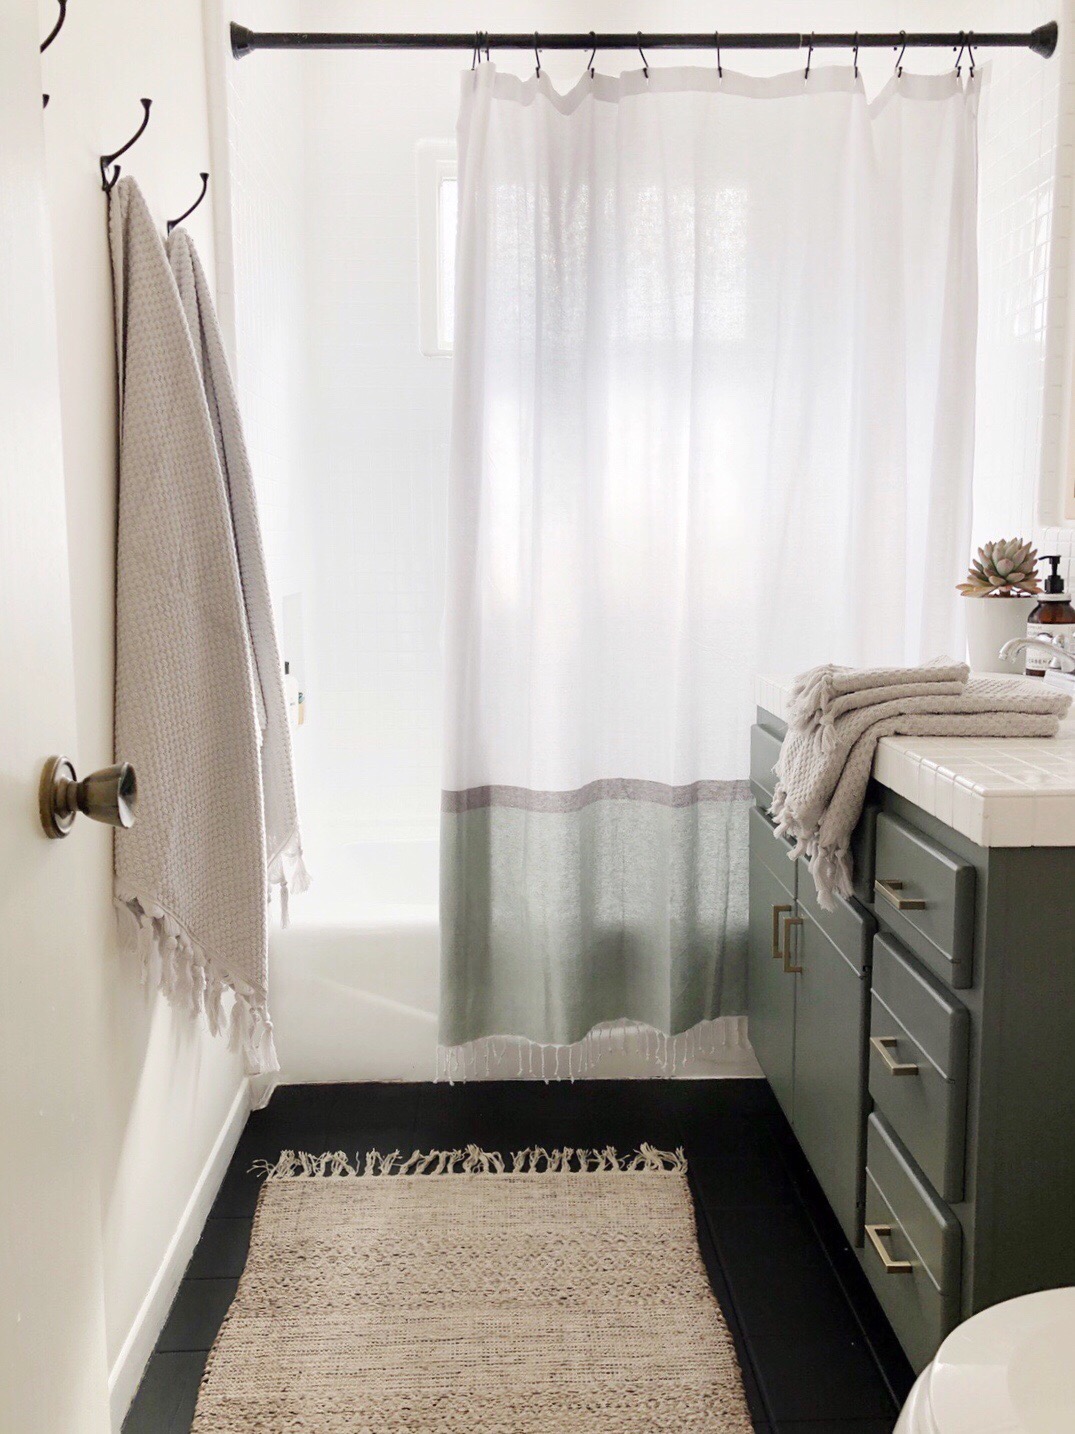
AFTER
This bathroom was a sight for sore eyes, to say the least. It was so dated that it felt like stepping into a time machine, and the pale, dirty colors were not helping with the bathroom’s tight size. We needed a total (and affordable!) bathroom makeover to better reflect our laidback style, and this modern coastal bathroom DIY before and after makes me SO happy. While the majority of this bathroom *is* DIY, I always recommend outsourcing for professionals when necessary for guaranteed quality and peace of mind on elements that require more expertise, such as I did for glazing portion of this project.

Affordable Bathroom Remodel DIY Tutorial
TOTAL TIME: 3 days
- I hired Porcelain & Fiberglass Maintenance in North Hollywood to professionally glaze our pink tub, shower tiles, and the sink, and they did an AMAZING job. Everything is now a crisp, bright white – and it made a WORLD of a difference! Plus, I have the reassurance of knowing it will perform as it should and last a lifetime. Depending on the size of your space, professional tile glazing will probably cost you between $800-$1,200.
- After waiting 48 hours for all the glaze to fully dry, I painted the vanity with a couple coats of the Millstone Gray by Benjamin Moore paint color. Note: I recommend sanding and priming wood cabinets too – I cut corners because this bathroom will be gutted when we remodel. I bought a sample of the paint for $12 and a foam roller for $4.
- I updated the hardware with these sleek and simple gold pulls from AllModern, which elevates the feel of the bathroom without stealing the spotlight.
- For the floors, I started by sanding, then priming using this primer, followed by painting them with Life Deck Floor & Deck Paint in Black by Benjamin Moore. The contrast of the light white tiles and the dark floors adds more depth to the bathroom, which is essential when you’re trying to figure out how to make a small space feel bigger.
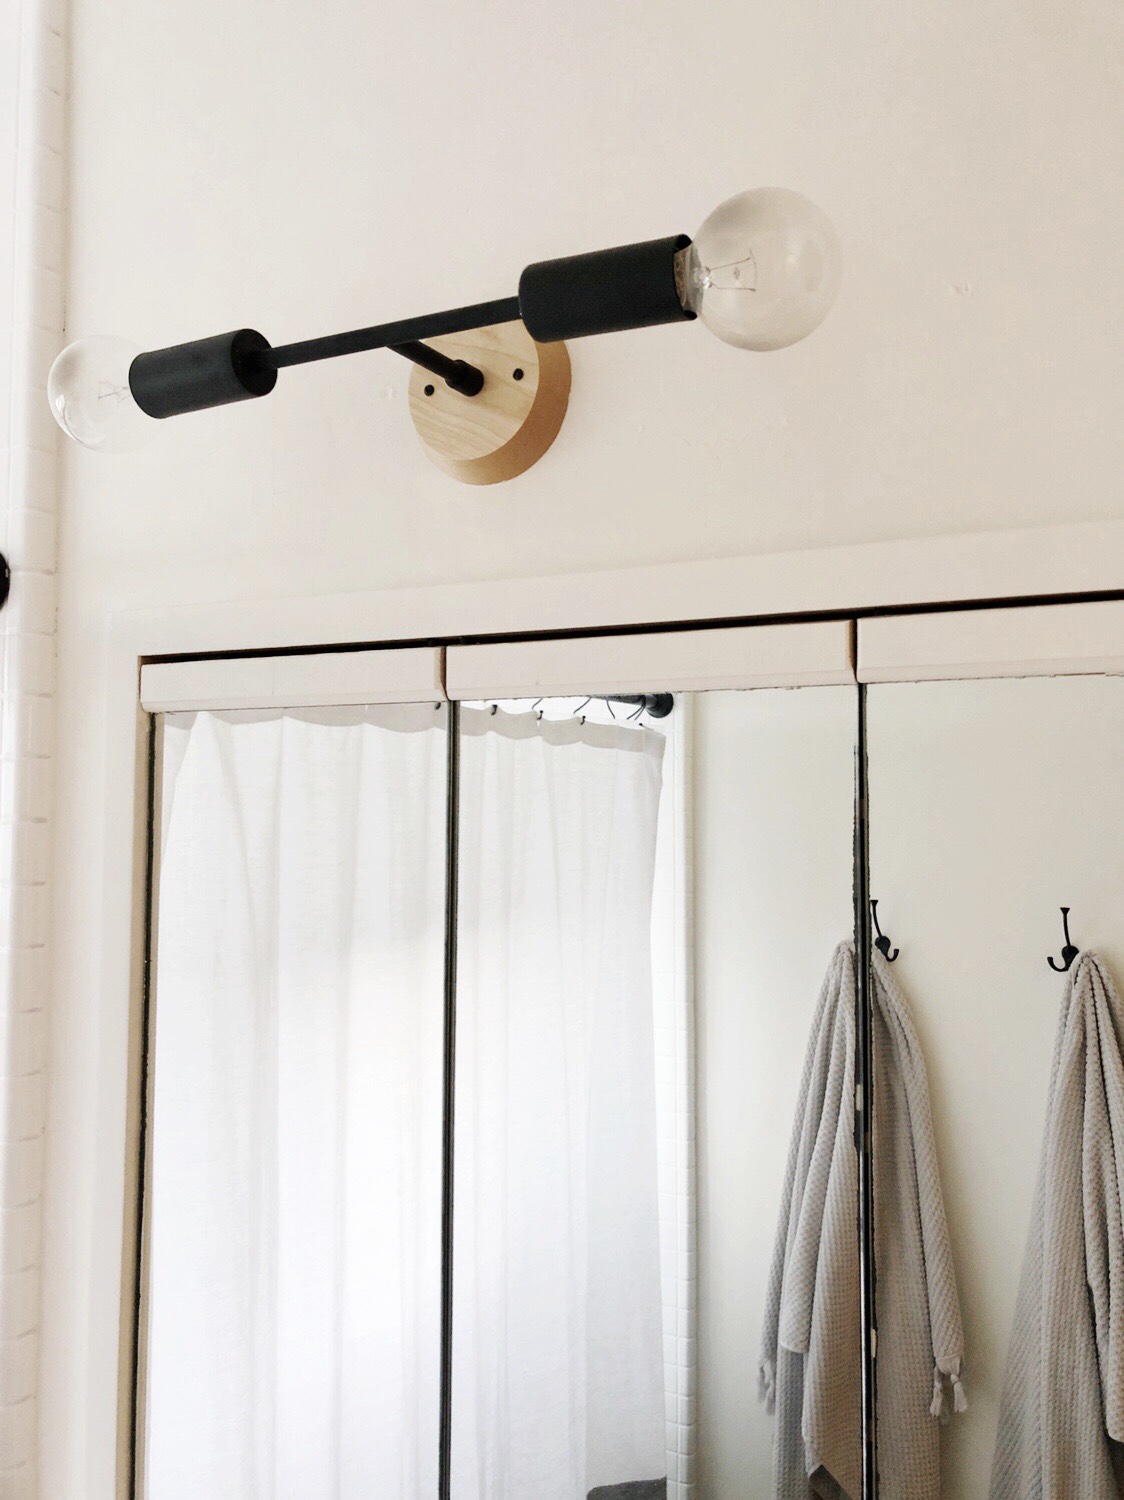
- I replaced the main light in the bathroom with this cool black fixture from Cedar and Moss. I love how the black is a little unexpected alongside the other colors but still fits seamlessly within the rest of the design choices.
- I ripped out the cabinet over the toilet, because we didn’t need the extra storage and it dwarfed the space – so I hung this art from AllModern instead!
- I used this black spray paint to update the shower curtain rod and hung this cute curtain from Target.
- I painted all of the mirror frame, the walls and ceiling with one of my favorite paints ever: Simply White by Benjamin Moore.
- Towels are these tassel towels from Parachute
- The final touch? Adding this neutral cotton rug to incorporate more organic texture to the modern coastal bathroom vibe.

Don’t these bathroom before and after photos give you so much joy? There’s nothing like an extreme before and after to inspire me to keep going and finish other projects as quickly as possible (and inspire YOU with bathroom DIY ideas and make those changes you’ve been itching to do!). You can find all this and more on my Instagram and Pinterest.
xoxo,
Kristin