If you have an outdated bathroom that you desperately want to remodel but cannot afford a full gut remodel, please keep reading! For less than $5000, you can drastically update your bathroom from drab to fab! My advice? Replace the vanity, lights and mirrors for an instant update. Update your accessories. And if needed (in my case it was needed) – paint! You can even paint tile! Eventually, if you end up paying for a full gut remodel, you can reuse your new vanity, mirrors and lights. Win Win!
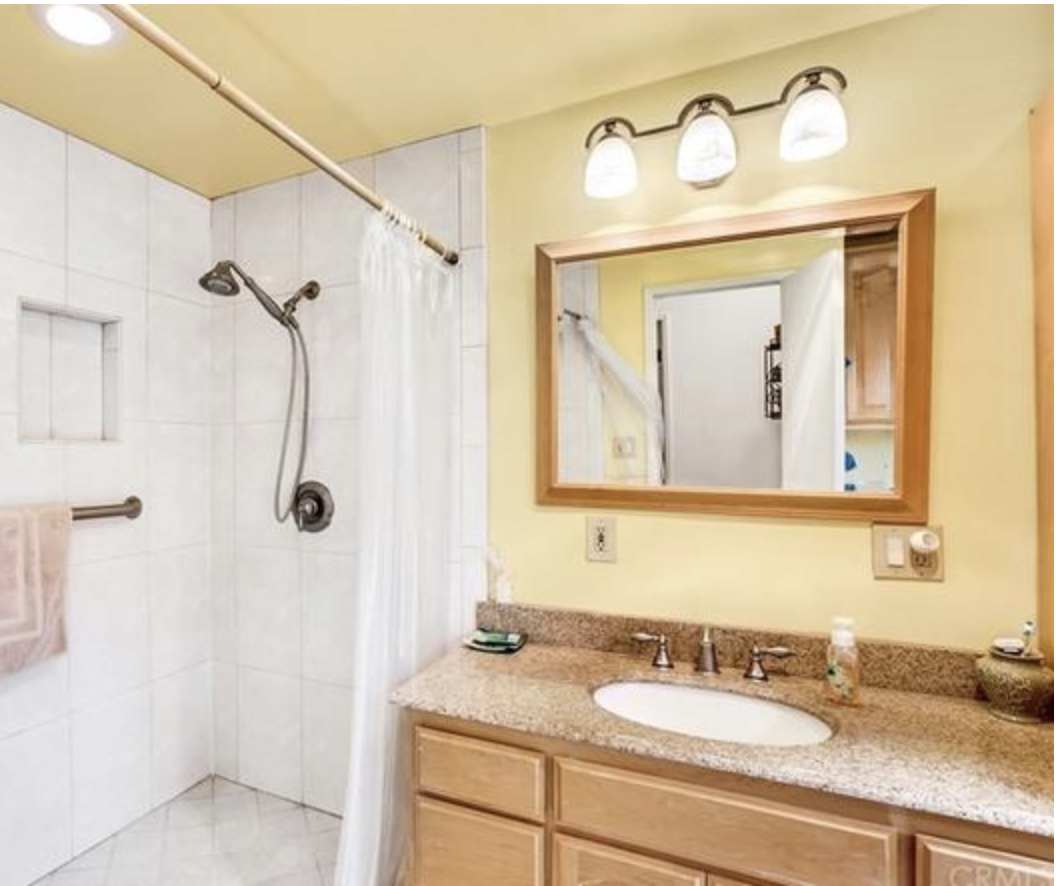
Here is the BEFORE of our bathroom:
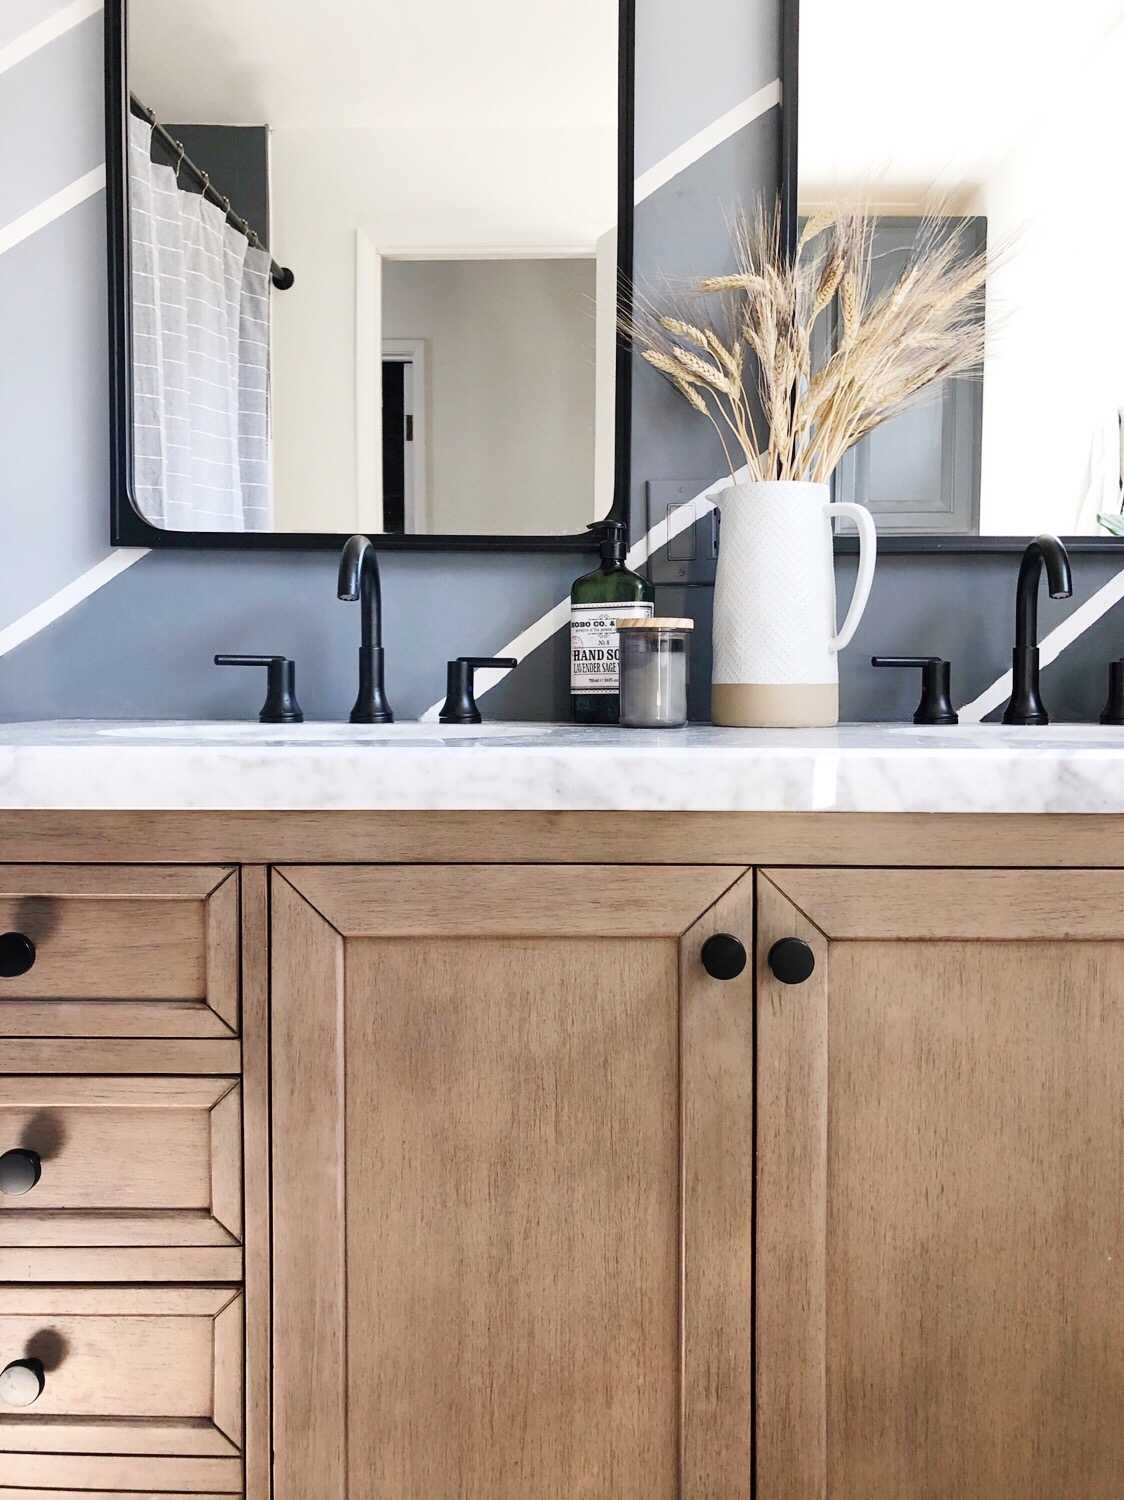
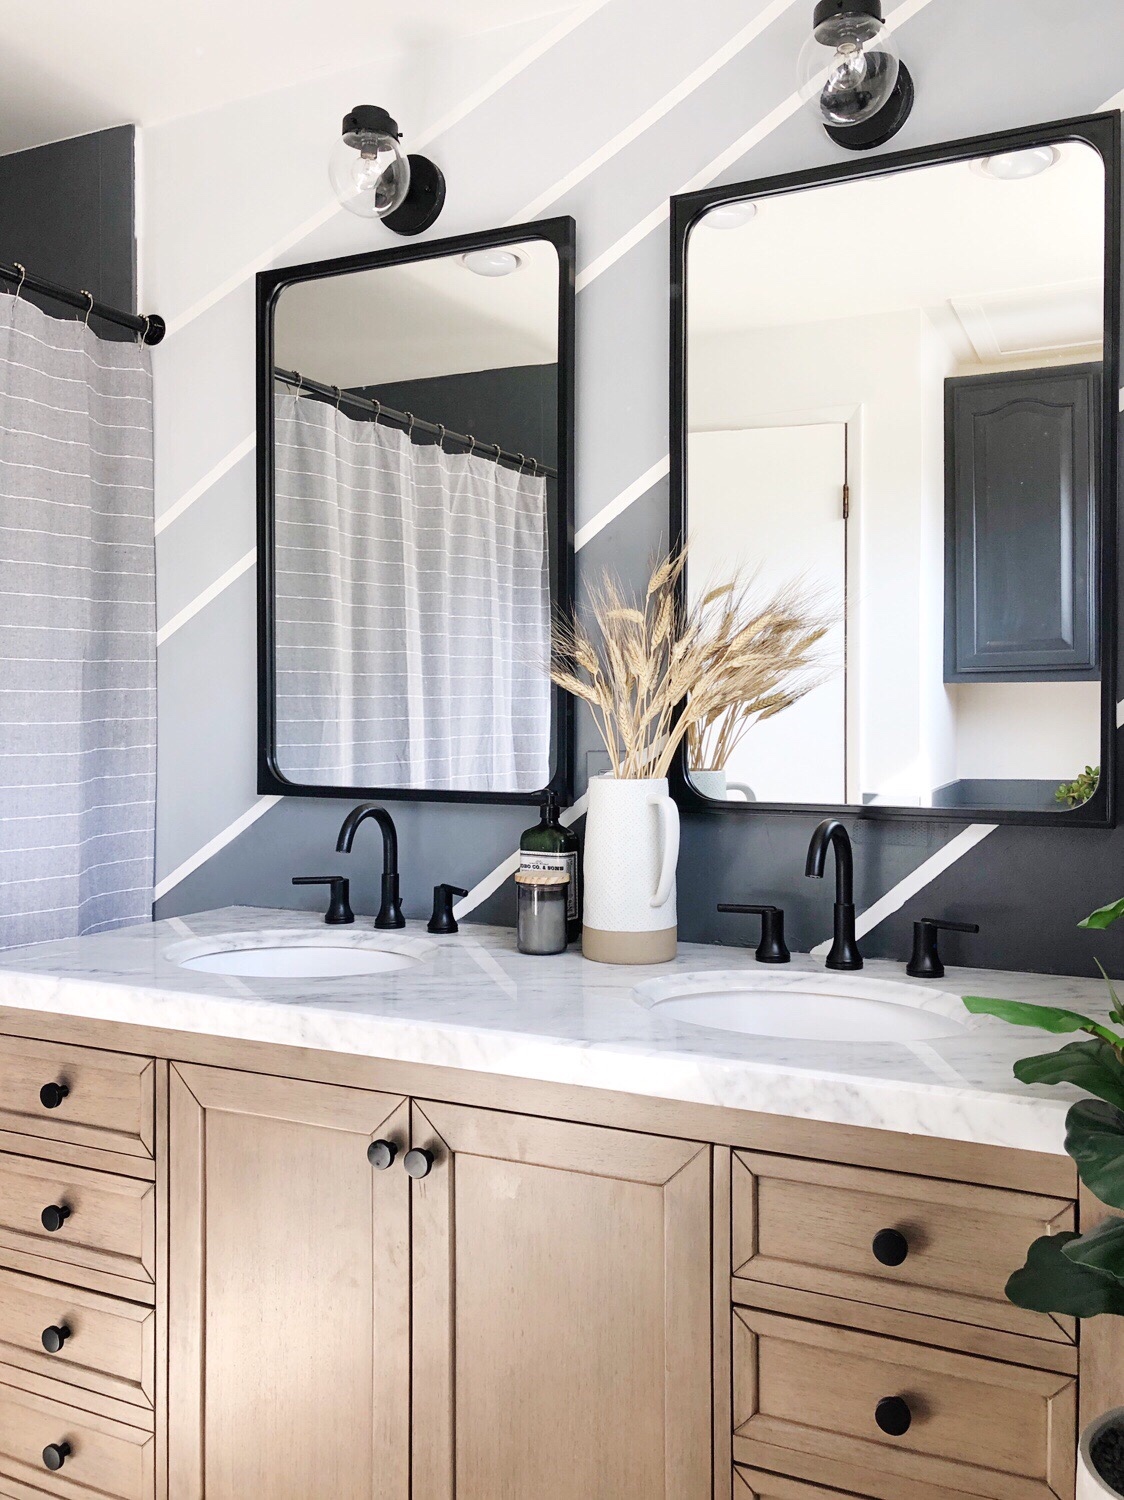
Here is the same view NOW:
SUCH a difference, right?!!!!
Here are the products I used thanks to Build.com:
THE VANITY is the James Martin Vanities Chicago 60″ Free Standing or Wall Mounted / Floating Double Basin Vanity Set with Wood Cabinet and Carrara Marble Vanity Top from Build.com
It comes with the counter and sinks and is free standing, which I LOVE because we can use it (again) after we fully remodel our bathrooms.
THE FAUCETS are the Delta Trinsic Widespread Bathroom Faucet with Metal Drain Assembly
in black.
THE MIRRORS are the Ren Wil Sorella 36″ X 24″ Rectangular Framed Universal Mount Wall Mirrors
THE LIGHTS are the Progress Lighting Spatial Single Light 5-3/8″ Wide Bathroom Sconces and they are only $60 each! And so pretty.
THE SHOWER CURTAIN ROD screws into the wall, which is AWESOME because it never falls down. It’s the Signature Hardware 72″ Straight Shower Curtain Rod.
I spruced up my accessories with the following products:
Stools in bathrooms are SO cute and add character IMO . . . you can shop mine here
The black bordered towels are part of the Banded Border Bath Collection
My basket is from Home Goods but LOVE these ones too (I have them and currently are using them for toys).
The rug is vintage.
The candle is so cute with a wood lid and available here.
I found the shower curtain, hand soap and faux fiddle plant at Home Goods.
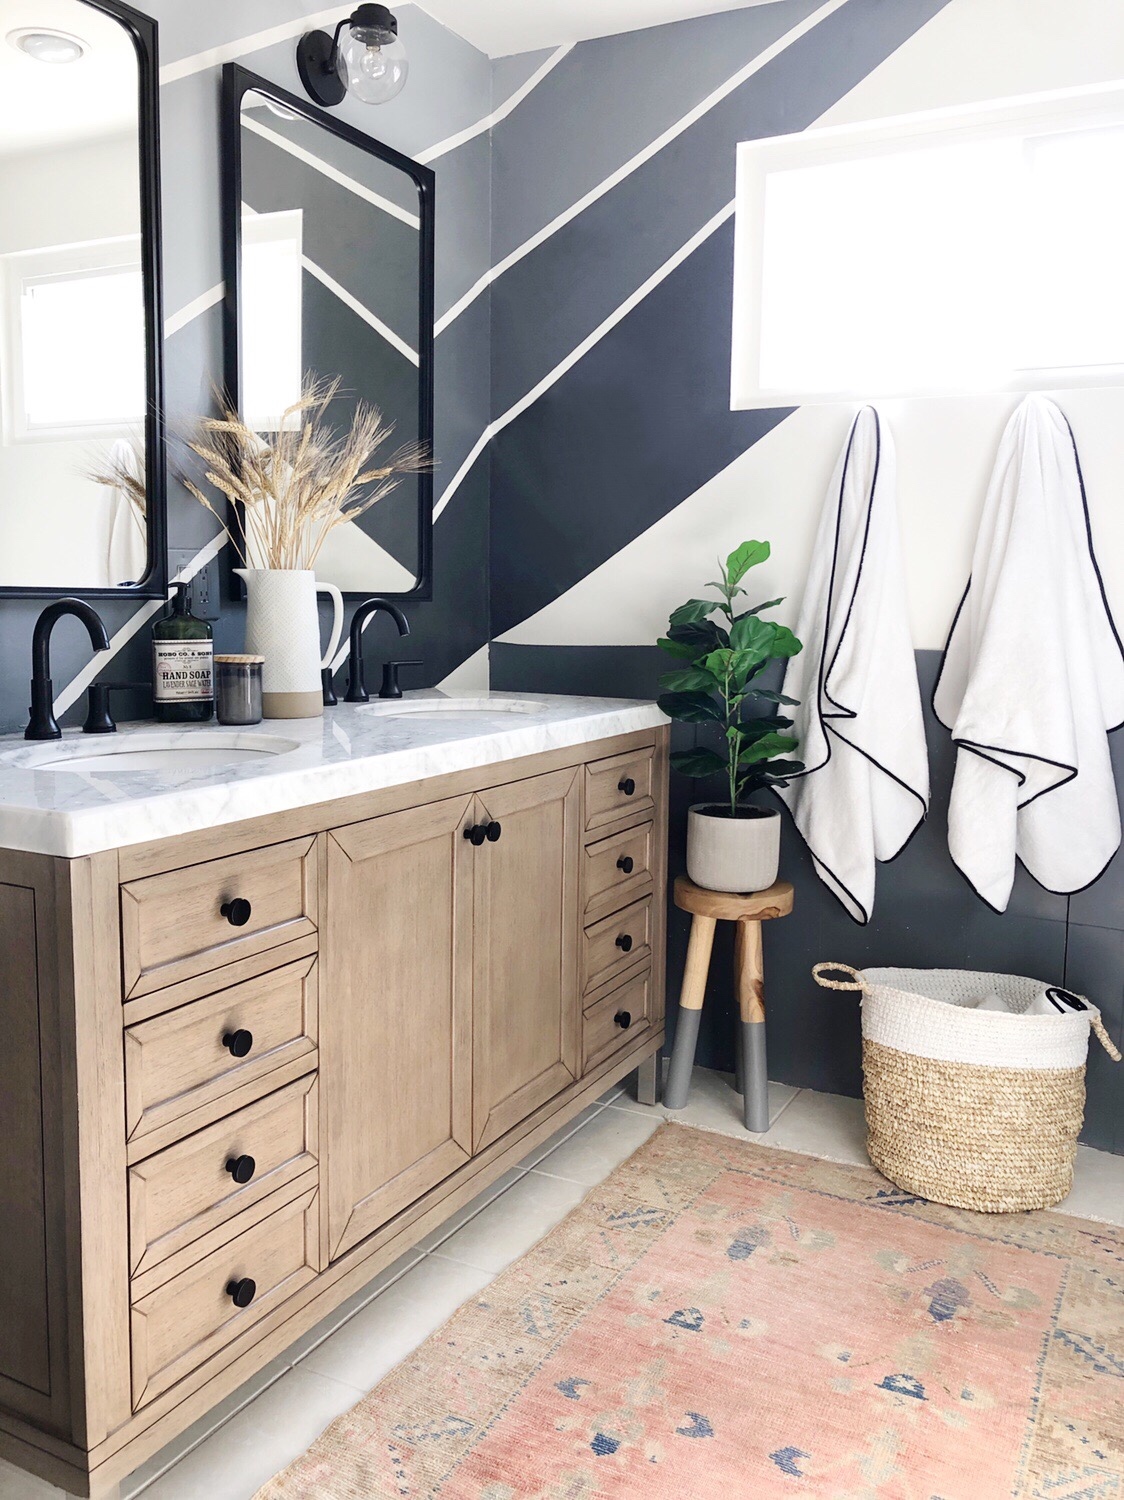
I painted the wall and tile (better than bright yellow walls and blah tile):
Step by step:
- First paint the wall the color you want the stripes to be — in this case, I painted the wall white.
- Use painter’s tape to tape out your design.
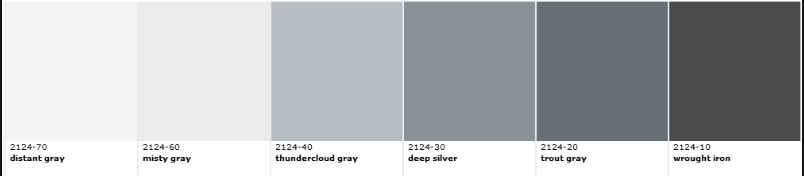
- Starting with “distant gray” but adding some of the next darker color each time . . . I created colors to create an ombre effect.
- Here are the colors in order from lightest to darkest: distant gray, misty gray, thundercloud gray, deep silver, trout gray, wrought iron.
- I painted the tiles “trout gray” (please see my modern coastal bathroom blog post for a tutorial on painting tile).
- I painted the cabinet over the toilet “wrought iron.”
I hope you guys like it! Thanks for reading!
xoxo,
Kristin